
Last updated November 22, 2026
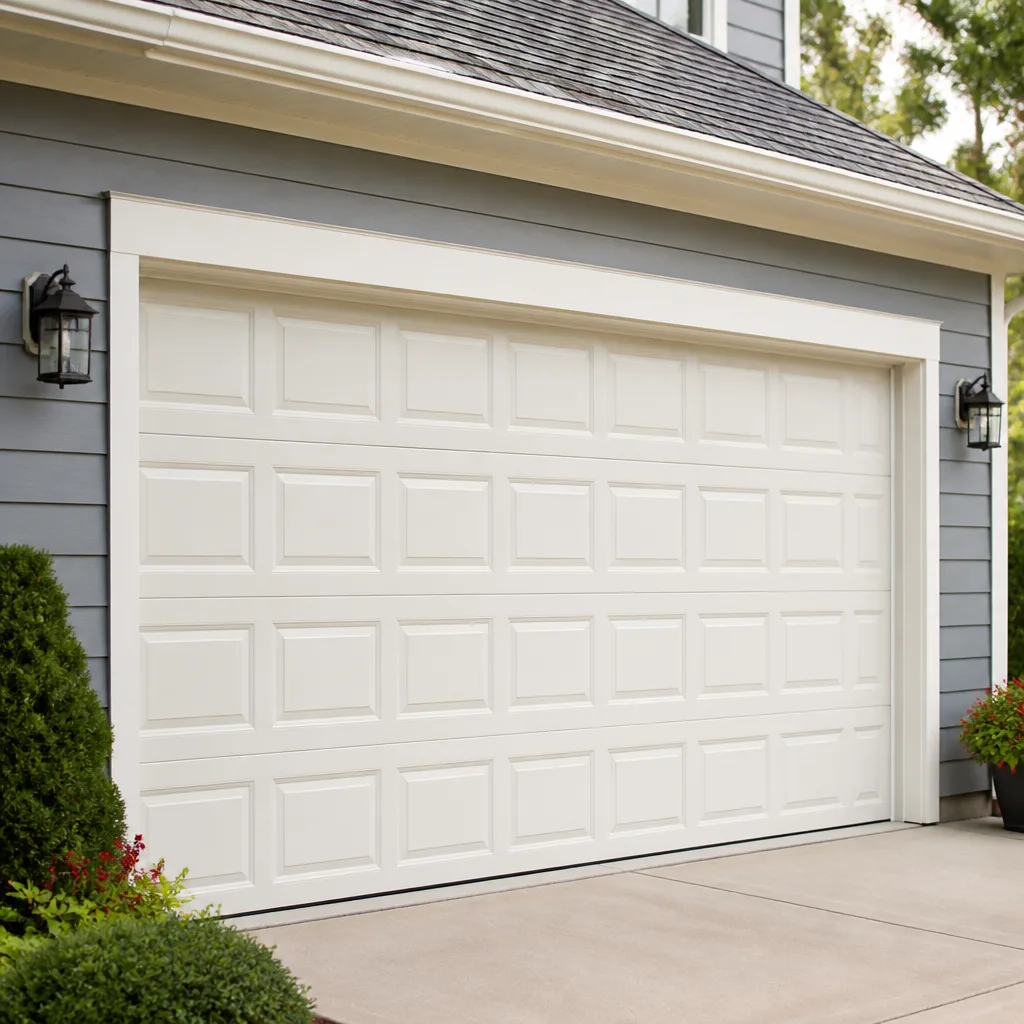 Raised-panel steel
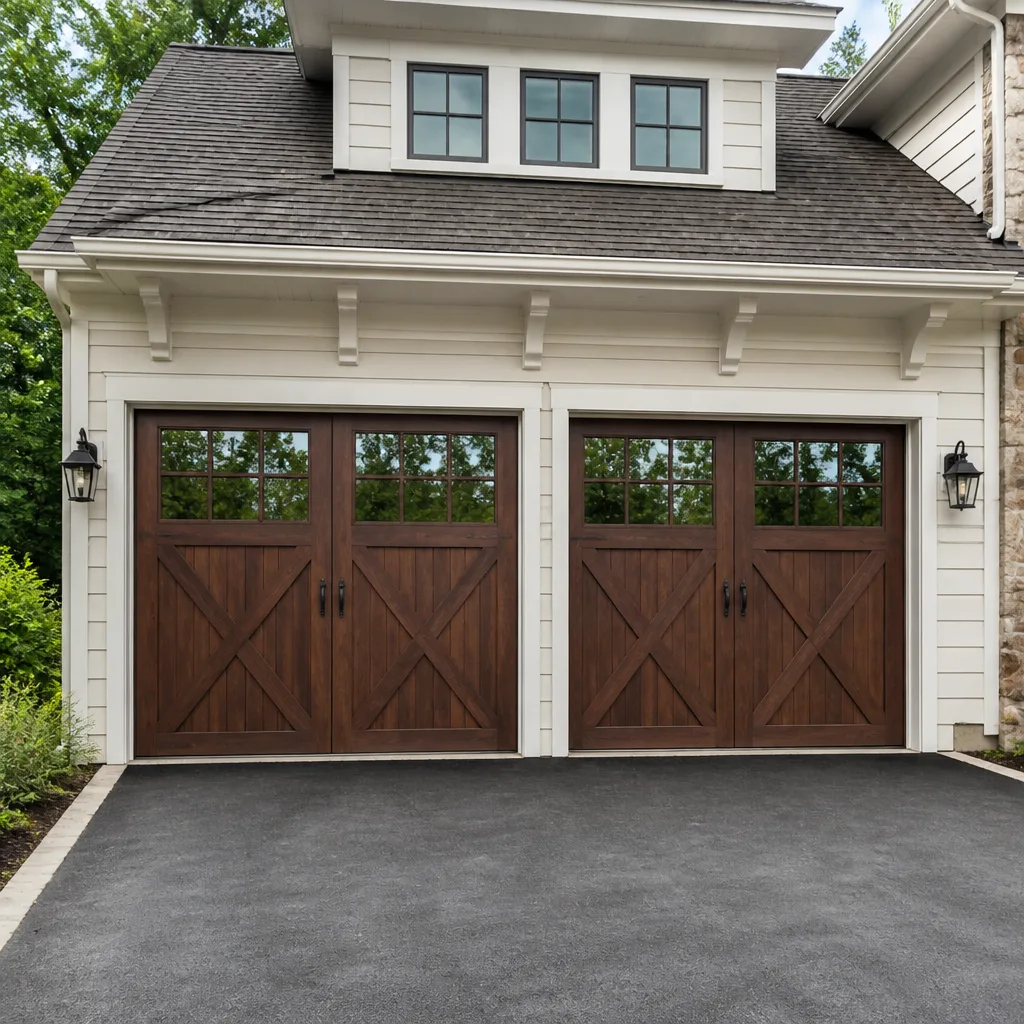 Carriage house
 Modern flush
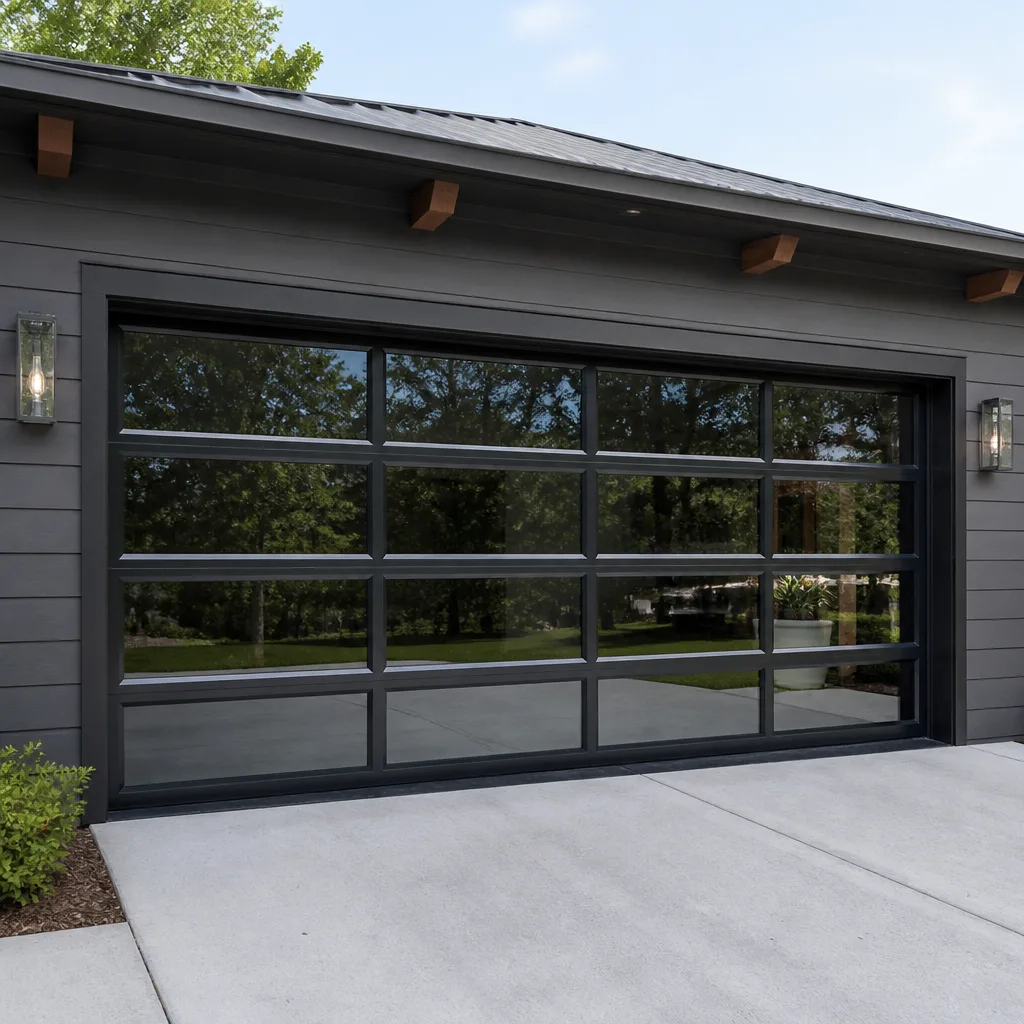 Full-view glass
 LiftMaster openers
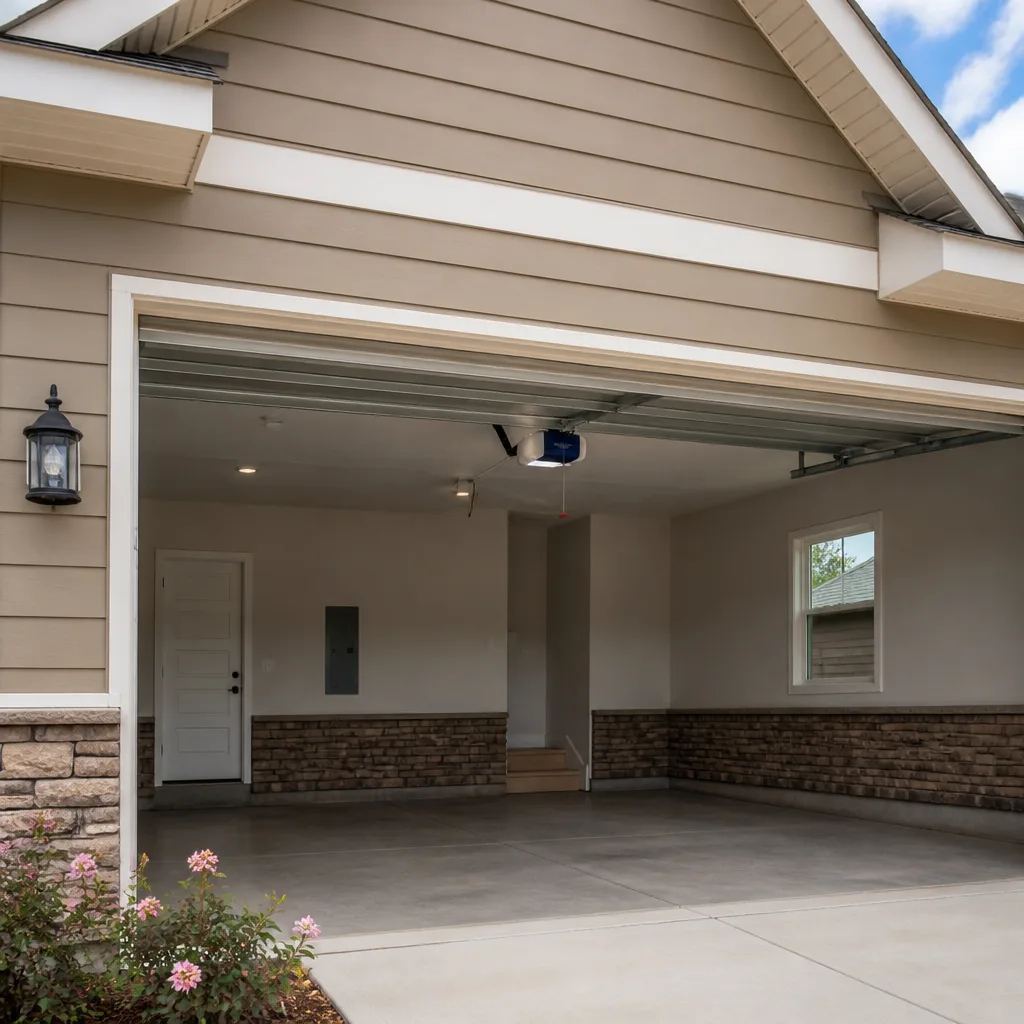 Chamberlain openers
Full 25-point door and opener safety check with every visit - springs, cables, rollers, tracks, and your LiftMaster or Chamberlain opener included
You get a price before we start. It does not change when the pro arrives.
Get your free estimateDIY vs Professional Garage Door: The Pungo Homeowner’s Decision Guide
Most homeowners who get hurt working on a garage door were perfectly capable people. That’s the part worth sitting with. The question isn’t whether you can follow a tutorial – it’s whether a video can hand you the feel for a torsion spring under load, the judgment that only comes from handling hundreds of them. You’ll see it framed as a skill test. It isn’t. It’s a task-by-task risk calculation, and a few of those tasks carry injury potential high enough that the labor cost stops being a convenience and becomes the correct decision, full stop. In this guide we’ll sort garage door work into what’s genuinely fine to handle yourself and what needs a technician, lay out the physics honestly, and give you the real math on Pungo repairs.
Quick Answer
Some garage door tasks are safe and sensible to do yourself: cleaning and aligning the safety sensors, lubricating rollers and hinges, reprogramming a remote, and tightening visible hardware. Spring work, cable work, and anything involving the opener’s internals or the door’s balance are not DIY tasks regardless of your skill level – they carry real injury risk and belong to a trained specialist. Everything in between comes down to whether the fix touches tension, electrical components, or the door’s structural load path. If it does, call a professional.
Styles & brands we work with
- Raised-panel steel
- Carriage house
- Modern flush
- Full-view glass
- LiftMaster openers
- Chamberlain openers
Table of Contents
- The Real Question: Sorting Garage Door Tasks by Risk
- The Physics of Torsion Spring Tension, Explained Plainly
- What You Can Safely Do Yourself in Pungo
- Tasks That Need a Technician No Matter How Capable You Are
- The Real Cost Math: DIY Parts and Time vs Professional Labor
- Why Rural Pungo Homeowners Attempt Repairs Others Don’t
- How DIY Work Affects Your Manufacturer Warranty
- A Numbered Framework for Deciding on Any Garage Door Repair
The Real Question: Sorting Garage Door Tasks by Risk
Here’s the thing most DIY-versus-pro articles get wrong: they frame the choice as a personality trait. Are you handy? Do you enjoy fixing things? That’s the wrong axis. The right axis is which system on the door the task touches, because garage door components are not equally forgiving of a mistake.
A garage door is a balanced mechanical system holding stored energy. A torsion spring alone can carry hundreds of pounds of tension at a point in its cycle. Cables run that tension through pulleys. The opener is a motor that exists to nudge a door that should already be nearly weightless on its own. When you understand the system this way, the DIY question resolves itself. Tasks that don’t disturb stored energy are safe. Tasks that do are not.
We sort garage door work into three risk categories, and it’s worth committing these to memory:
- Green: sensor cleaning and alignment, roller and hinge lubrication, remote and keypad reprogramming, visible hardware tightening, track wiping, weather seal inspection, opener battery replacement.
- Yellow: track adjustment where the door is still level, panel inspection after an impact, opener force-limit testing, photo-eye diagnostics, pulsing or reversing door symptoms.
- Red: torsion springs, extension springs, cables, drums, bottom brackets, opener internal mechanisms, full-door balance adjustment, panel replacement on a loaded door system.
In Pungo we work on the doors and openers homeowners already own, whether that’s a Clopay panel door, a LiftMaster opener, or an older Genie unit with the original 1990s housing. Which brand you have doesn’t change the risk category – a torsion spring is a torsion spring. What changes is the specific procedure, and that’s where training matters.
The Physics of Torsion Spring Tension, Explained Plainly
A torsion spring is a coiled steel bar that’s been wound tight enough to lift a quarter-ton door. That’s not a metaphor. A typical torsion spring stores enough elastic energy to lift a door a garage-door manufacturer would spec in the 200-350 pound range, and when that spring fails – either by natural breaking or because someone lost control of it during removal – the energy releases in a fraction of a second. That’s the part people underestimate: it’s not the tension you can feel under your hands. It’s the release you can’t stop.
Here’s the plain physics. Winding a torsion spring requires two winding rods inserted into the winding cone at opposing angles, held in opposition while you turn. The rod handle translates rotational force into stored energy. If a winding rod slips out of the cone while you’re applying force, the spring unwinds instantly at the point where you’re likely still gripping the rod. The rod becomes a projectile, and your wrist, forearm, or face are typically within its path.
This is why we say a YouTube tutorial can show you the steps but cannot transfer the tactile judgment. Knowing how much resistance means a spring is fully wound, understanding when a cone bolt is seated correctly versus over-torqued, and recognizing the sound of a spring with micro-cracks before it fails – these come from hundreds of springs under your hands. That knowledge doesn’t come from a video, and it’s the difference between a safe repair and an emergency room trip.
Springs are the most dangerous part of any garage door system, and garage door spring repair is where we spend the most time training and the most time talking homeowners down from the DIY plan. We use proper winding rods, proper safety protocols, and professional-grade tools. Not because we’re being precious about it – because the risk is asymmetrical, and one bad spring can change a life permanently.
What You Can Safely Do Yourself in Pungo
We get calls every month from Pungo homeowners who would rather handle something themselves and were right to. Plenty of garage door maintenance genuinely doesn’t need us, and we’ll tell you so. Here’s the short list of tasks we’d put in the green category, plus the exact steps for the ones homeowners handle most.
Safety sensor alignment. The two photo-eye sensors mounted about 6 inches off the ground on either side of the door track. If the door won’t close all the way or reverses immediately, a misaligned sensor is the most likely cause. The fix takes about 5 minutes:
- Locate both sensors at the bottom of each door track and check that each has a lit indicator light.
- If one is unlit or blinking, loosen the wing nut on the sensor housing and gently aim it toward the other sensor.
- Watch the indicator while you adjust – it should go steady once aligned.
- Confirm by blocking the beam with your foot; the light should flicker, and the door should not close while blocked.
- Retighten the wing nut once alignment holds.
Roller and hinge lubrication. A tube of white lithium grease or silicone spray and 10 minutes of your time. Hit the metal hinge pivot points, the roller shanks (not the tracks – grease in tracks attracts grit), and the torsion spring shaft, not the spring coils themselves. Do this twice a year and the door will run noticeably quieter.
Remote and keypad reprogramming. This depends on the opener brand. Chamberlain and Genie both publish model-specific reprogramming guides on their websites, and most reprogramming sequences are a variation of press-the-learn-button-then-press-the-remote. If you can’t find your manual, we can walk you through it. A quick note: if a remote has to be reprogrammed more than once in a short stretch, that’s not a code issue – that’s a sign the opener’s logic board or memory is failing, and that’s a yellow task.
Visible hardware tightening. Bolts and nuts on the hinges and brackets work loose over time – that’s a Pungo humidity and vibration reality. A socket set and a slow pass will find a surprising number of loose fasteners. Just don’t touch anything under spring tension.
One local note: garage doors in this part of Virginia run through a hot, humid summer followed by a damp winter, which is rough on opener logic boards and photo-eye lenses alike. Condensation on a fogged photo-eye lens is the number-one cause of the phantom-triggering door we get called about in the summer and fall, and a quick wipe solves it faster than a service call.
Tasks That Need a Technician No Matter How Capable You Are
Here’s the part we won’t hedge. There are garage door repairs that we’d rather you didn’t attempt regardless of how confident you feel about your mechanical ability. Not because you lack talent, but because the risk-to-reward math simply doesn’t work: the potential cost of a mistake is severe permanent injury, and the potential savings is a labor charge. Here’s the technician-only list:
- Torsion spring replacement or adjustment. The single most dangerous task on a garage door. Needs winding rods, knowledge of spring cycle count, and the tactile judgment described above. No exception for experienced DIYers.
- Extension spring replacement. Lighter than torsion but still stored energy. If a safety cable isn’t present on an older extension spring system, that’s an immediate red flag promising future trouble.
- Cable replacement. Cables are under spring tension and can whip if released incorrectly. Even inspecting them up close carries risk if the spring is loaded.
- Bottom bracket work. Bottom brackets are under cable tension. The bracket itself can move suddenly if anything shifts.
- Opener internals. Gears, drive belts, logic boards, capacitor replacement, and anything requiring the opener housing to come off.
- Any full-door balance adjustment. A door needs to be brought to a specific spec, then tested; getting it wrong puts all tension paths under unequal load.
- Panel replacement on a loaded system. You can’t safely swap a panel without unweighting the door first, and unweighting the door means backing off spring tension.
For these tasks, the labor cost is the correct financial decision regardless of your capability. That’s not a sales pitch. It’s just the numbers. We’d rather you call once than call after an injury.
The Real Cost Math: DIY Parts and Time vs Professional Labor
Here’s where we put numbers down on paper. DIY looks cheaper on first glance until you account for parts quality, time, and the risk of secondary damage. Let’s do the arithmetic for the tasks that come up most in Pungo.
| Task | DIY Parts Cost | DIY Time & Risk | Professional Estimate |
|---|---|---|---|
| Safety sensor replacement (pair) | $15-$40 | 15-30 min, low risk | $80-$150 installed |
| Remote reprogramming | $0 (existing remote) | 10 min | $0 guidance, call us |
| Roller replacement (set of 12) | $20-$45 | 1-2 hrs, low-moderate risk | $150-$250 installed |
| Roller + hinge lubrication | $8-$15 | 20 min, none | Not typically a service call |
| Torsion spring replacement (single) | $30-$60 spring only | High risk, no DIY | $180-$340 spring + labor |
| Torsion spring replacement (matched pair) | $60-$120 spring only | High risk, no DIY | About twice the single |
| Cable replacement (pair) | $25-$60 cables | High risk, no DIY | $150-$300 installed |
| Opener logic board replacement | $80-$180 board | Moderate-high risk | $200-$400 installed |
| Opener replacement (full unit) | $150-$400 unit only | 2-4 hrs, moderate risk | $400-$800 installed |
A spring estimate above is for one spring. A matched pair is usually replaced together, so a pair costs about twice the single-spring range. These are typical estimates for the Pungo service area – not a promise on any individual door, since the written estimate sets the final price.
Notice where the gap narrows. On a roller replacement or sensor swap, DIY saves real money and the risk is low – we’d cheer you on. On a torsion spring, the DIY “savings” is $150-$280 over professional labor, against a nonzero chance of serious injury and a much higher chance of a secondary mistake (a mis-wound spring, a cracked cone, a bent shaft). Secondary damage on a spring system typically costs $200-$500 to correct on top of the original job. The expected value flips hard. On an opener replacement, the unit cost is often close to half the installed price, but a miswired opener can cost the whole unit plus a technician visit, and a brand-model mismatch will leave you with a remote that doesn’t pair.
Time is the other variable. A pro replaces a torsion spring pair in about 45-90 minutes, start to finish, with diagnostic and door test. A homeowner following a tutorial is looking at 3-4 hours on the first attempt, more on a stubborn door, and typically many more if anything goes wrong.
Why Rural Pungo Homeowners Attempt Repairs Others Don’t
We hear a specific version of the DIY question from homeowners on the rural edges of Pungo, out on the roads that lead toward Knotts Island and the farmland stretches south of the shopping corridor. The reasoning is honest: “It’d take a day to get someone out here, and I can get it open with a bolt cutter and a pair of vice grips in an hour.” That math has a real life to it – rural homeowners have longer wait windows for a lot of services, and a garage door that won’t open is a serious access problem when it’s your primary entry.
We understand why that logic exists. Here’s what we’d say. First, the gap is smaller than it looks. We answer 24/7 and dispatch from 7am to 7pm, Sunday through Friday, so a rural Pungo call placed in the morning typically resolves the same day. Second, the workaround that “just gets it open” is where rural homeowners get hurt: cutting a cable on a loaded spring system, forcing a door past a failed spring, or prying a panel to release tension are all ways to release stored energy at your face. The good version of rural self-reliance is preparation: know your door’s make and opener brand before it fails, keep a manual release handle tested and reachable, and have our number saved. That’s a 5-minute investment that changes an emergency into a scheduled repair.
If you do end up with a door stuck closed, don’t force it. A manual release on most openers will let you lift the door – if the door is balanced and the springs aren’t broken, that’s a safe way to get your car out and schedule service. If the door feels heavy or won’t lift, stop. That means the springs are compromised, and no amount of force is worth the risk. Call (855) 683-7570 and we’ll book the next opening. Emergency garage door service is a real offering for exactly these security and access situations, and we’d rather see you on a scheduled dispatch than hear what happened when the door won.
How DIY Work Affects Your Manufacturer Warranty
Here’s a warranty fact worth knowing before you pick up a wrench. Garage door and opener manufacturers generally warrant their components against defects, but most of them exclude labor by non-authorized personnel and reserve the right to deny coverage when DIY work has touched the affected system. The practical effect in Pungo is this: if you replace a Chamberlain opener’s logic board yourself and the replacement board fails six months later, the manufacturer can attribute the failure to installation and deny the claim. If you replace a Clopay door panel yourself and it warps within the warranty period, the same logic can apply.
Springs and openers are the two categories where warranty impact hits hardest. Spring manufacturers assume springs are installed by trained installers to a specific winding spec, and a mismatched spring pair – even one spring correctly matched and one not – can void coverage. Opener internals are the other. Openers are usually warrantied as a whole unit with specific coverage windows for motor, belt, and logic board; if a technician has to undo a homeowner wiring job, the manufacturer generally treats the whole installation as outside the warranty scope.
We work on the brand you already own. Chamberlain, Genie, Clopay, Amarr, LiftMaster, Wayne Dalton, Craftsman, and Raynor – the whole range – and we know the coverage quirks across brands. That matters if a part fails under warranty: a certified installer can document the installation properly and give you the best shot at coverage. It also means the written estimate we give you includes what the warranty path looks like for your specific door and opener, so you’re not deciding blind.
A Numbered Framework for Deciding on Any Garage Door Repair
Here’s a repeatable way to work through any garage door problem you encounter. Run through these questions in order. Any “yes” answer before question 4 means you stop and call a professional.
- Does the repair touch a spring, cable, drum, or bottom bracket? If yes, professional only. Stop here.
- Does it require opening the opener housing or touching internal wiring? If yes, professional only. Stop here.
- Does the door currently feel heavier than you can lift with one hand while balanced? If yes, the door is unbalanced and needs a professional to re-balance safely. Stop here.
- Is the door level, closing fully, and lifting smoothly with the manual release engaged? If yes, you’re likely dealing with a sensor, remote, or programming issue. This is a green task.
- Is the symptom a slow or noisy operation rather than a failure? If yes, this is lubrication and inspection territory – a green task worth doing twice a year.
- Are you unsure which category it falls into, and the door still operates? Call us. We’ll help you place the task in a category over the phone, and if it’s green, we’ll tell you how to handle it.
That framework is the same one our technicians use as an intake filter, and it’s the same one we’d give a friend. You don’t have to be an expert to sort a garage door issue. You just have to know which three or four categories force the call.
Our technicians have up to 8 years of experience across every one of these systems. That’s the training – not the number of years the company has been open, no bearing on that, just the depth of hands-on work that goes into a safe spring or opener repair. If a job falls into the red category, we send a specialist. If it’s green, we tell you what to try before we ever schedule.
One more note from what we’ve seen in the Pungo market: the same brand of door can behave very differently depending on how it was installed. A Clopay door on one home might have plenty of adjustability in the track hangers, on another the installer drilled the brackets into a header that limits where the door can go. If you’re considering a new door rather than a repair, we handle garage door installation end to end and can match a new door to the opener you already have or fit both together. For existing equipment, garage door opener repair covers everything from a dead logic board to a remote that won’t sync. And for the standard repair calls that come up most often, garage door repair covers all of it – springs, cables, rollers, tracks, and adjustments.
Common Mistakes to Avoid
- Buying a spring by online size match without matching the wire gauge and cycle count. Springs look identical at a glance but differ in wire diameter and rated cycle life. A mismatch puts uneven load on the pair and can fail early – that’s why we spec springs to the door’s exact lift weight rather than the closest online listing.
- Greasing the tracks. The instinct is right – lubrication is good – but grease in the tracks collects grit and makes the door harder to operate over time. Lubricate the hinges and roller bearings, not the track surface.
- Consulting YouTube for opener logic board repair. Tutorials show the teardown but miss the model-specific verification steps, and one bad solder joint can fry an otherwise good opener. A fried opener is usually a $400-$800 replacement instead of a $200-$400 board swap.
- Cutting a garage door cable to “get the door open.” In rural Pungo, this is the most common serious mistake we hear about after the fact. A loaded cable can whip with enough force to break bone – it’s not a job for a bolt cutter.
- Adjusting the force limit on the opener to compensate for a heavy door. If the door needs a force boost to open, the door itself is the problem – usually a stiff spring or worn rollers. Raising the limit is a workaround that puts strain on the opener and hides the real defect.
- Replacing only one spring when the pair is matched. A matched pair is installed together because both springs are under identical load. Replacing one while the other carries the full weight shortens the life of the older spring and puts extra stress on the system. We quote spring prices per spring for that reason – most doors need the pair.
- Assuming a blinking sensor means a sensor fault. Blinking lights can also signal a closed force-limit trip or an obstruction in the track. It’s worth cleaning the lens and checking the track for sticks, toys, or small debris before replacing the sensor itself.
- Skipping the manual release test. Before you need it in an emergency, test the manual release on your opener – with the door closed and the opener disengaged, the door should lift easily with one hand. If it doesn’t, that’s a balance issue, not a release issue, and the door needs a professional inspection.
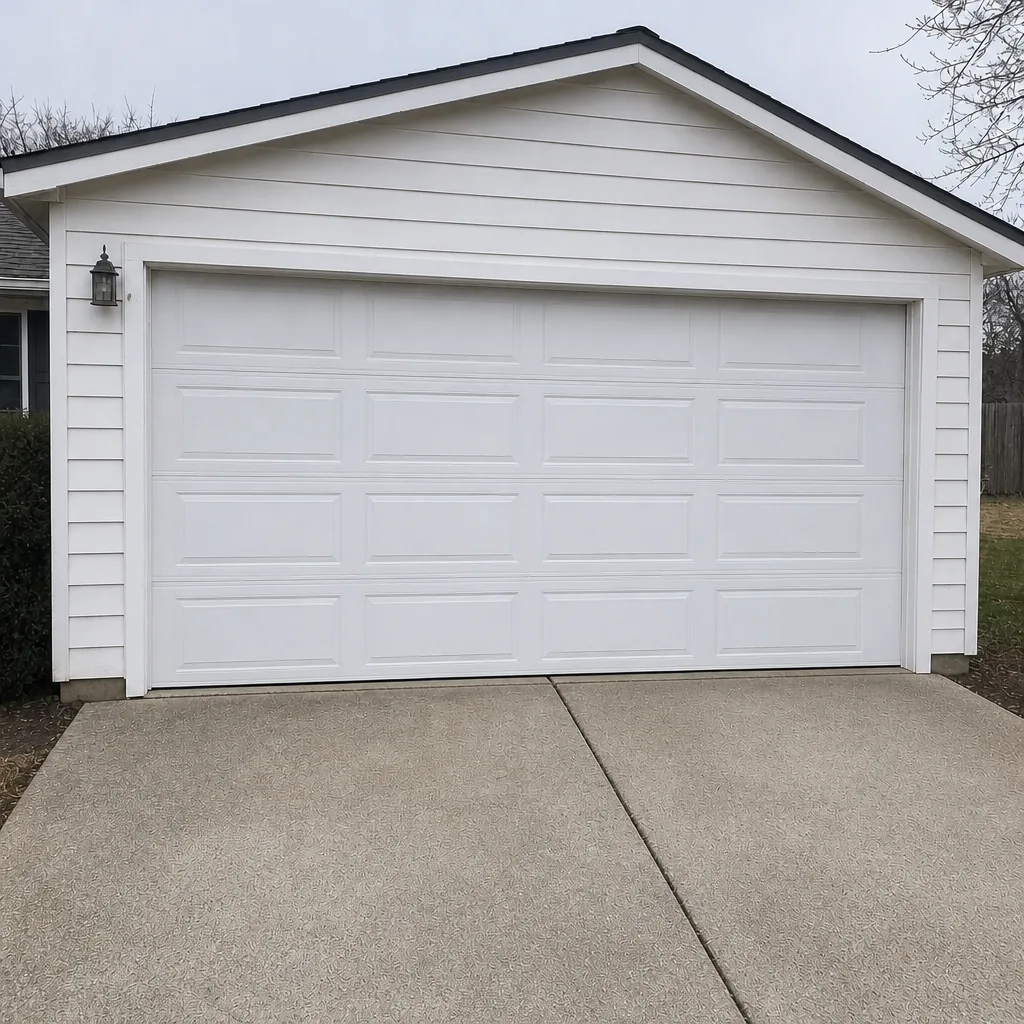
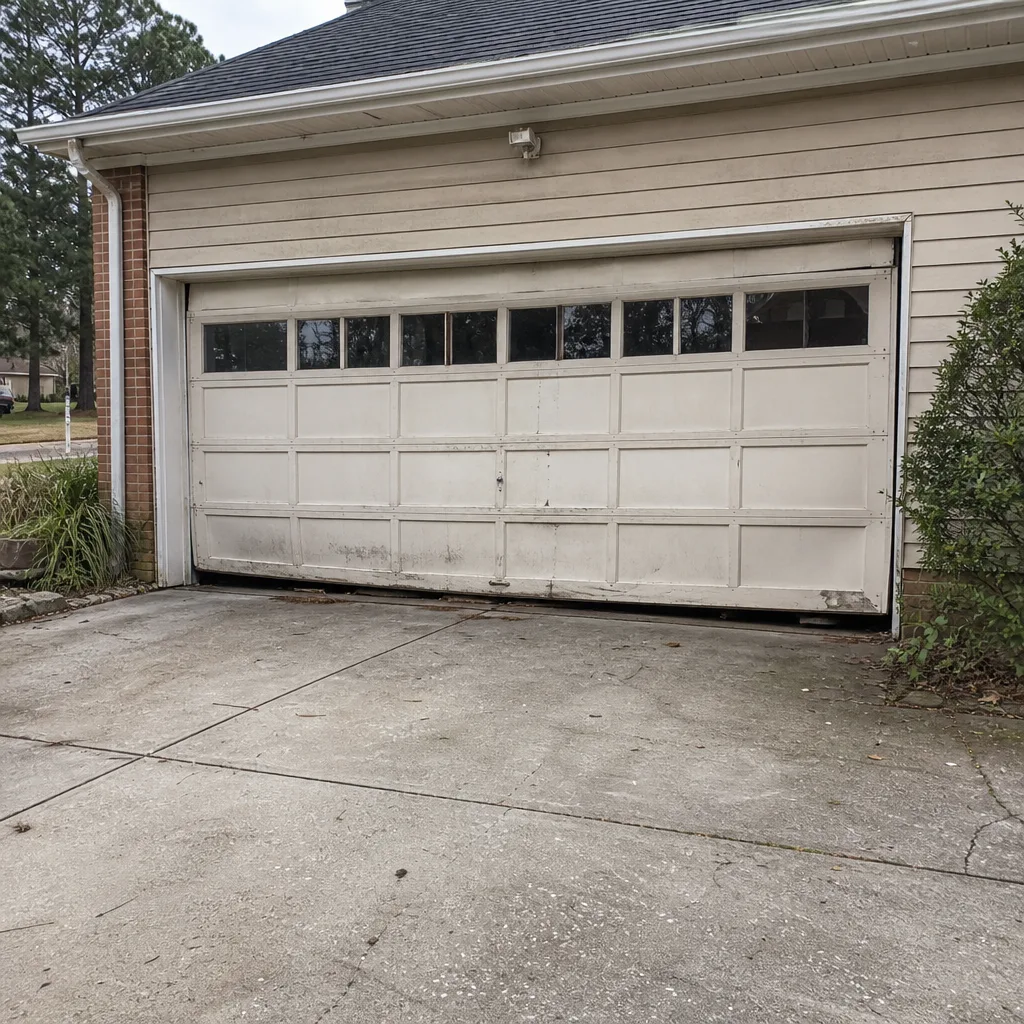
See the difference
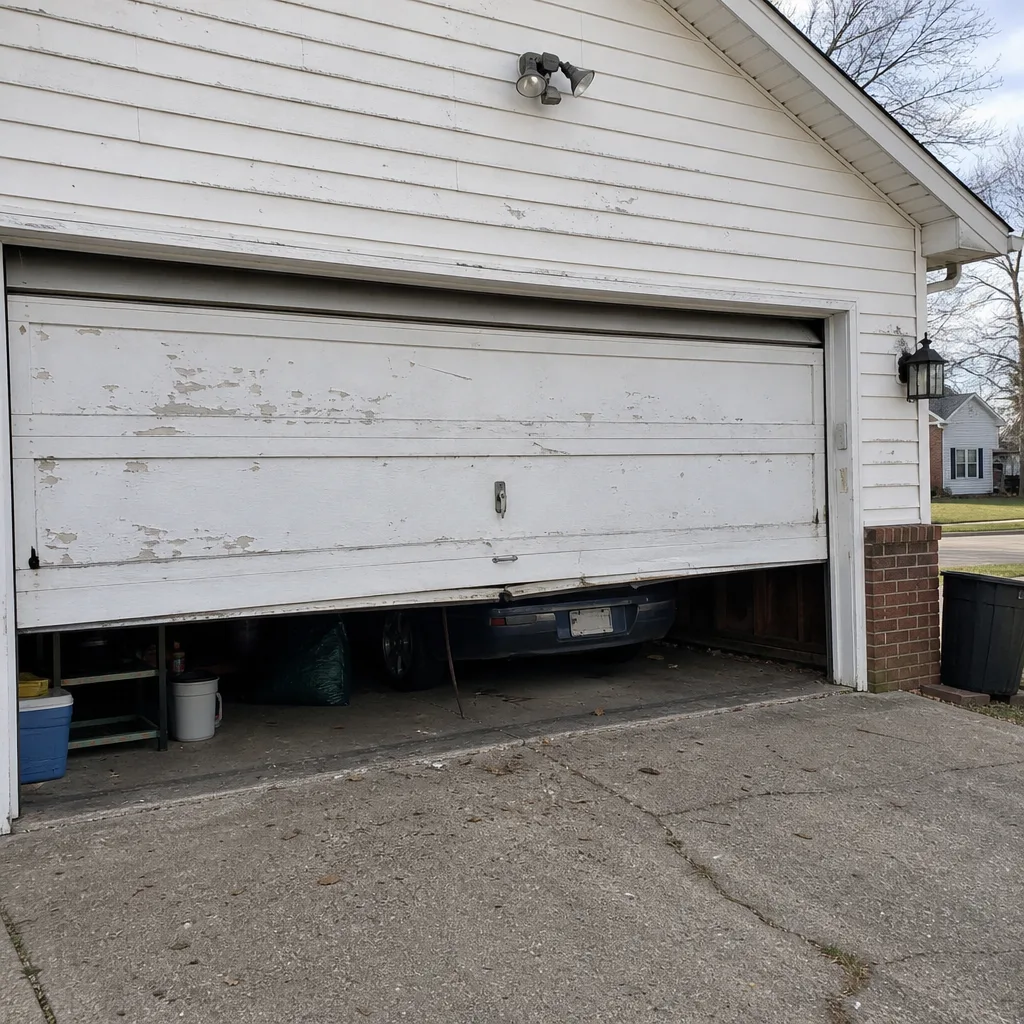 Before
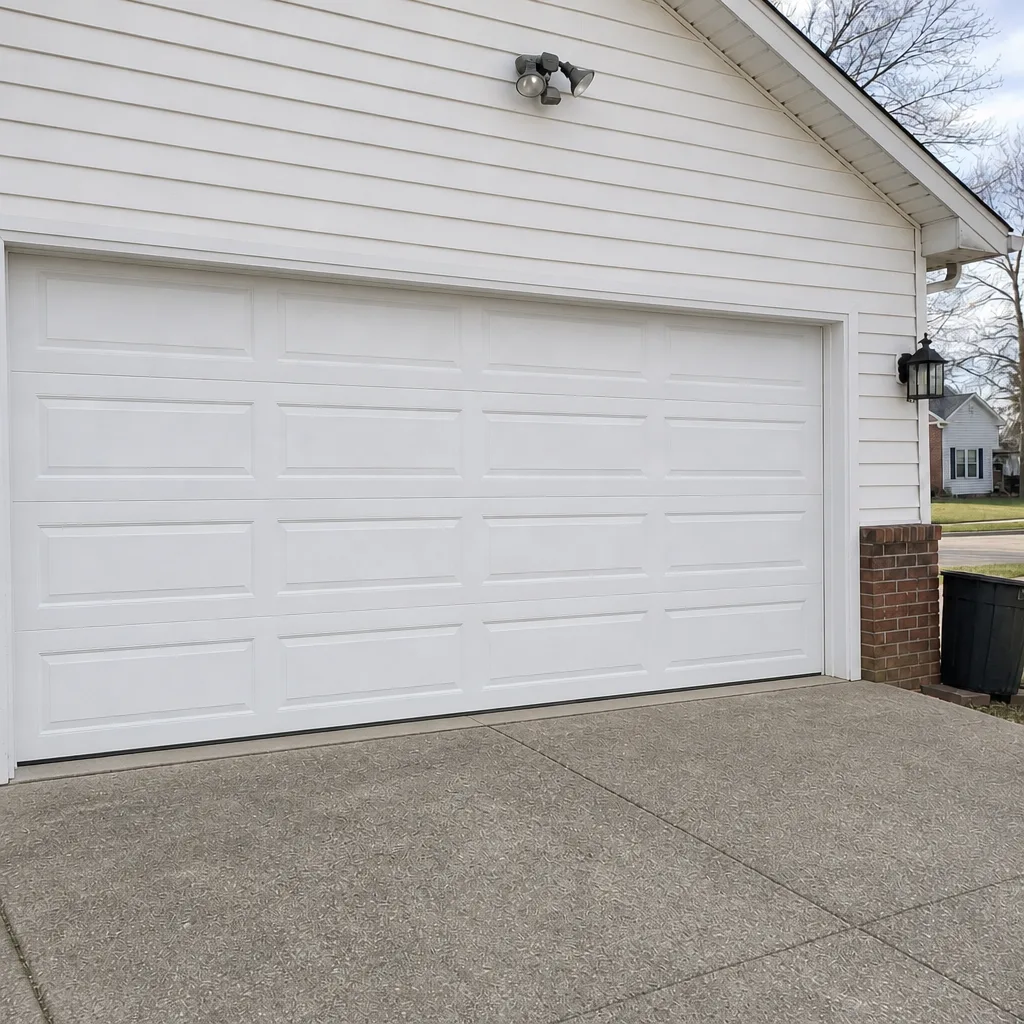 After
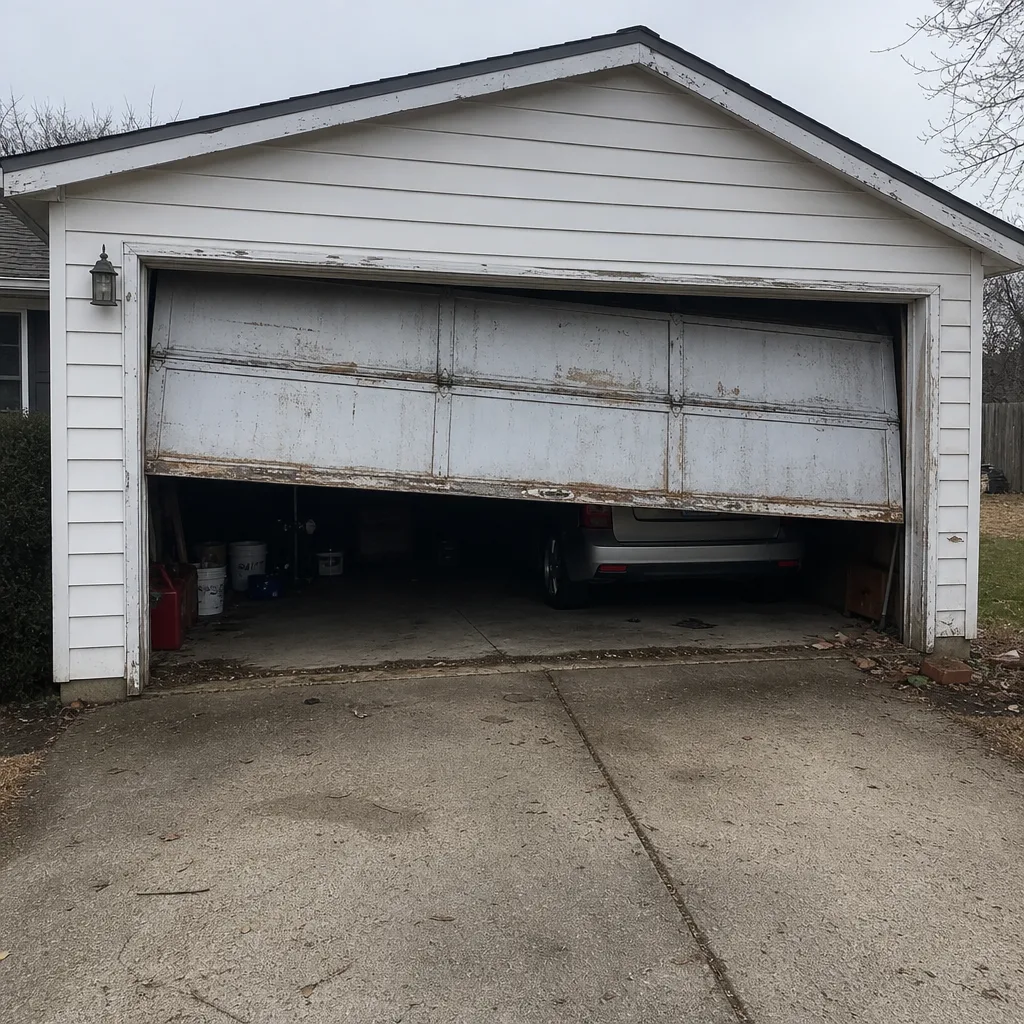 Before
 After
 Before
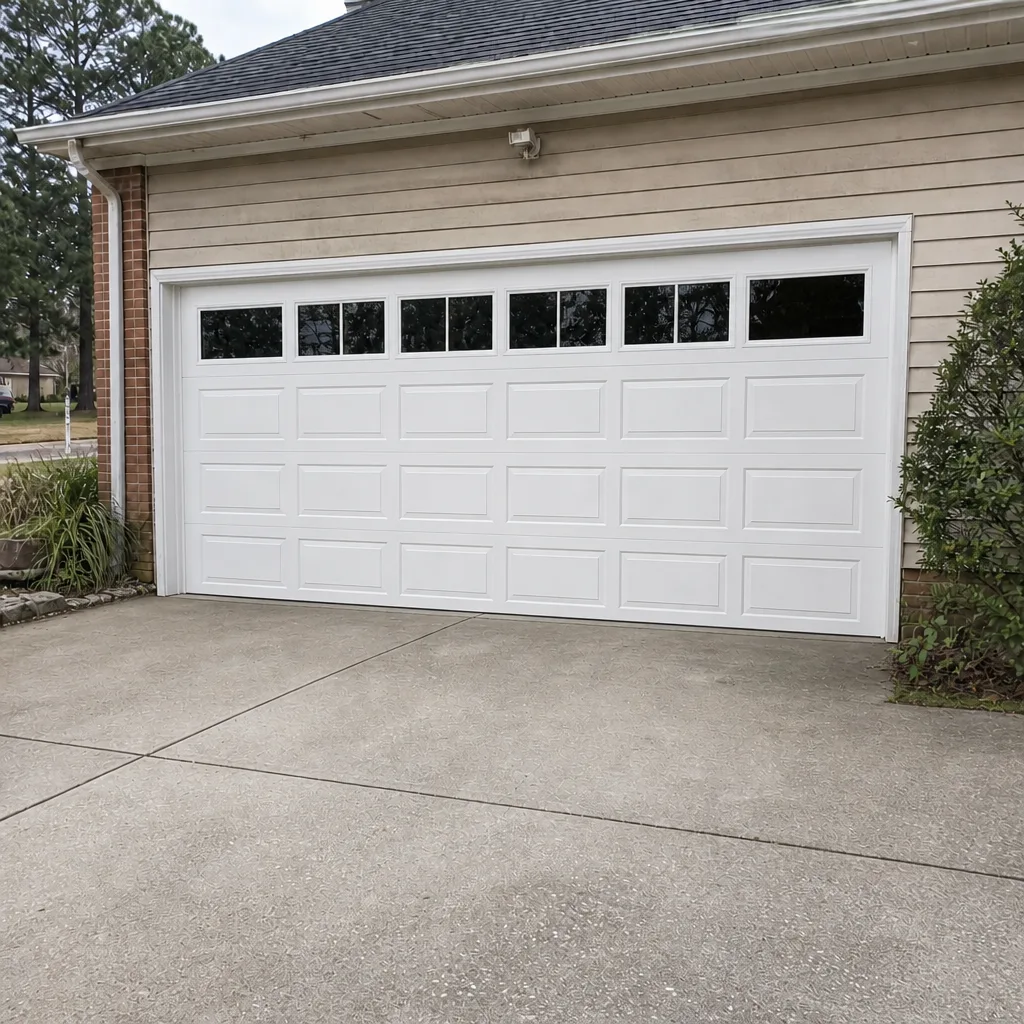 After
When to Call a Professional
Call a professional immediately if the door stops closing partially or fully, if you hear a loud snap from the spring area, if the door feels noticeably heavier than usual, if either sensor appears physically damaged, or if the opener runs but the door doesn’t move. These are all signs of a system under improper tension, and continuing to operate it puts the whole assembly at risk. If a car is trapped and the manual release works, you can lift the door by hand – but if the door won’t lift easily, don’t force it. Garage Door Repair Pungo offers free estimates in Pungo – call (855) 683-7570. We answer 24/7 and dispatch from 7am to 7pm, Sunday through Friday. We’ll quote the repair before any work starts, and we’ll tell you honestly whether the red-category job in question needs a repair or a replacement. One call, one specialist.
Frequently Asked Questions
No. Torsion spring replacement is not a safe DIY task regardless of mechanical skill. The spring stores enough energy to cause permanent injury in a fraction of a second, and the winding process requires tactile judgment that only comes from training and repetition. Call a professional for any spring work. Call (855) 683-7570 for a free estimate – most Pungo spring replacements are done same day.
Typical spring repair estimates in the Pungo service area run $180-$340 per spring, with a matched pair usually costing about twice that. The written estimate sets the final price, quoted before any work starts. Spring pricing depends on the door’s lift weight and wire gauge, so an exact number requires seeing the door. Call (855) 683-7570 – estimates are free.
No – the price we quote is the price you pay. We look at the door, identify the exact spring spec or component needed, and give you a written estimate before we touch anything. If we find a secondary issue mid-repair, we stop and re-quote before proceeding. You approve every step of the price.
Yes. The local professionals we connect you with for garage door work are licensed and insured as their state requires. Our technicians have up to 8 years of experience, with training across all major brands – LiftMaster, Chamberlain, Genie, Clopay, Amarr, Wayne Dalton, Craftsman, and Raynor. Call (855) 683-7570 to book.
Often, yes. We answer 24/7 and dispatch from 7am to 7pm, Sunday through Friday, so a morning call usually resolves that same day. It depends on the specific repair and parts availability for your door model. Call (855) 683-7570 for the soonest available slot.
Possibly, on the components you touch. Most manufacturers exclude labor by non-authorized personnel and can deny coverage when DIY work has affected the system in question – especially springs and opener internals. If warranty coverage is a concern, have a certified technician document the install. We work with all major brands and can quote both repair and warranty-safe replacement. Call (855) 683-7570 for details.
Start with the sensors. Check that each photo-eye has a steady indicator light, clean the lenses, and make sure nothing is blocking the beam. If the sensors are aligned and lit but the door still won’t close, check for debris in the tracks and confirm the manual release is engaged. If those steps don’t solve it, the issue is likely a spring, cable, or opener fault – call (855) 683-7570 for a diagnostic.
The Bottom Line
Some garage door work is genuinely safe to handle yourself: sensor alignment, lubrication, remote reprogramming, and visible hardware tightening. That’s real savings and we’d rather you keep it. The line sits in a clear place – anything that touches a spring, cable, drum, bracket, or opener internal is technician-only work regardless of your skill level. The laboy cost on those tasks isn’t the convenience upgrade, it’s the correct decision on the numbers, and the secondary-damage and warranty risks push the math further in that direction. In Pungo, the rural self-reliance instinct is understandable, but the workaround is where the real hazard lives – call early and get a scheduled repair instead of an emergency one. Whether it’s a repair or a full replacement, we’ll tell you which one you actually need.
Ready to get your garage door back to normal? Call Garage Door Repair Pungo at (855) 683-7570 for a free estimate on any garage door job. We answer 24/7, dispatch from 7am to 7pm, Sunday through Friday, and quote the full price before any work begins. Our specialists cover repair, opener service, spring replacement, and new door installation across every major brand. One call, one specialist, back up and running today. Learn more at Garage Door Repair Pungo.
Written by the team at Garage Door Repair Pungo.