
Last updated November 22, 2026
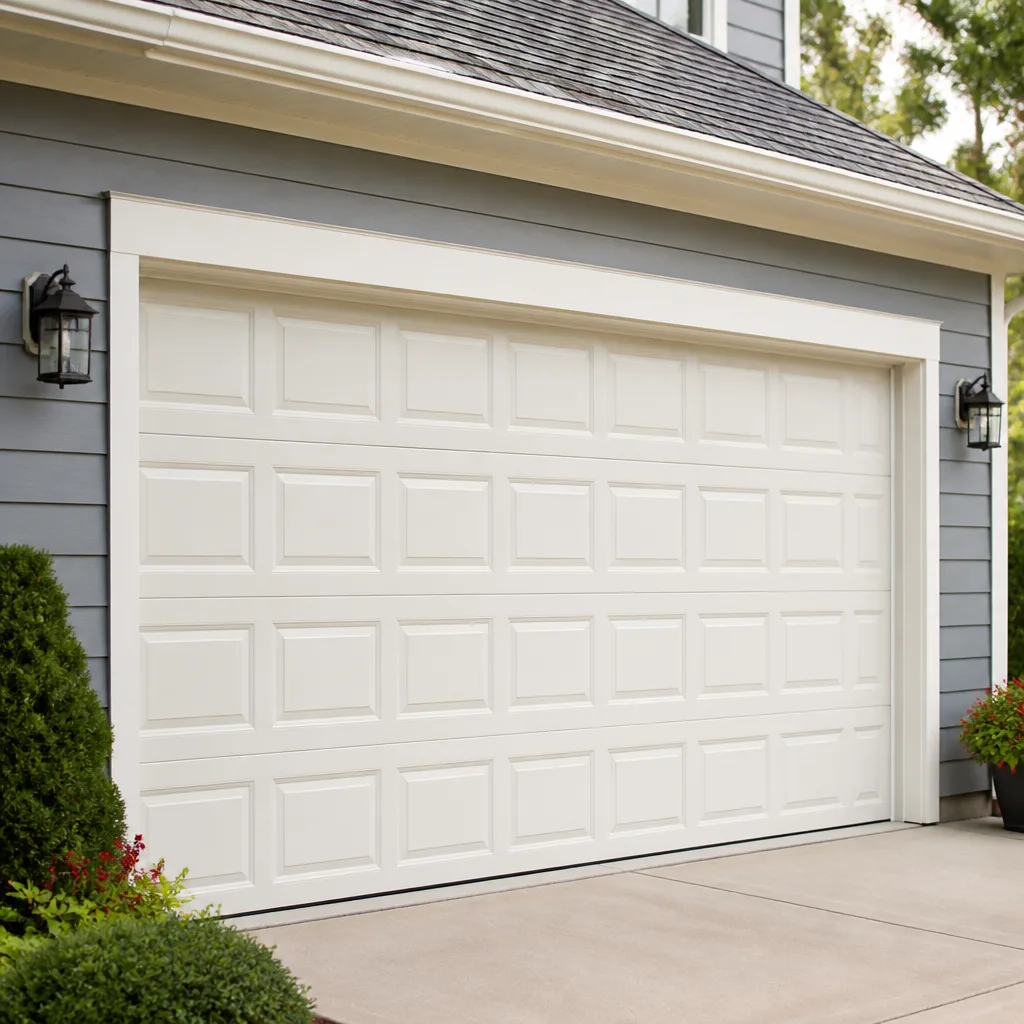 Raised-panel steel
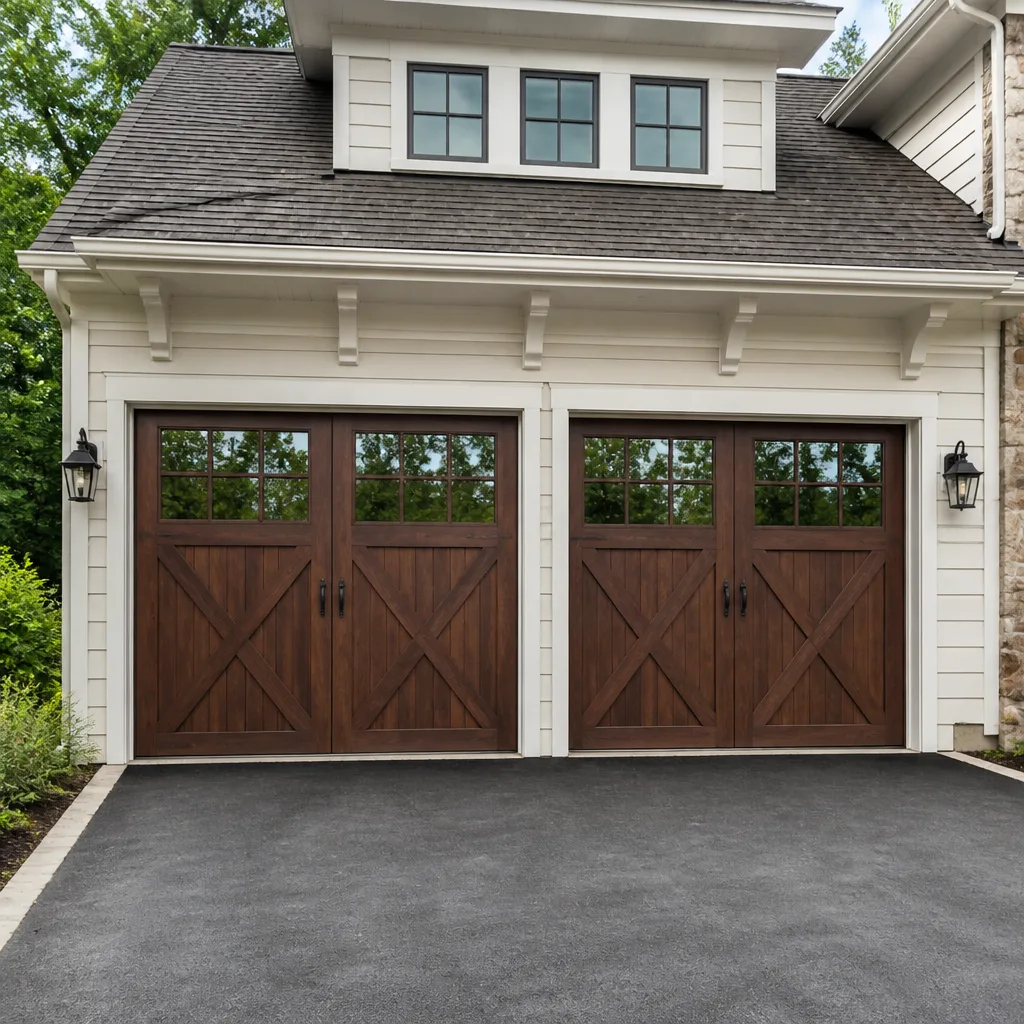 Carriage house
 Modern flush
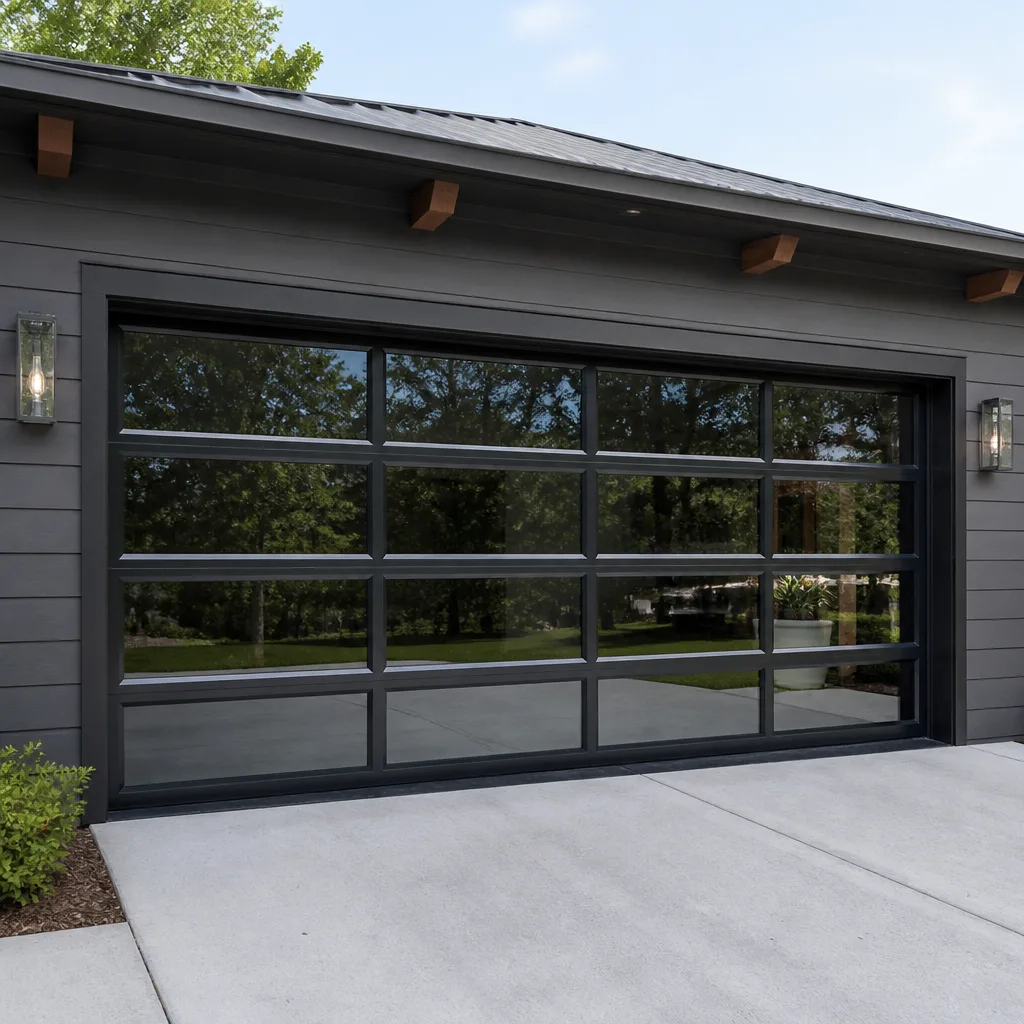 Full-view glass
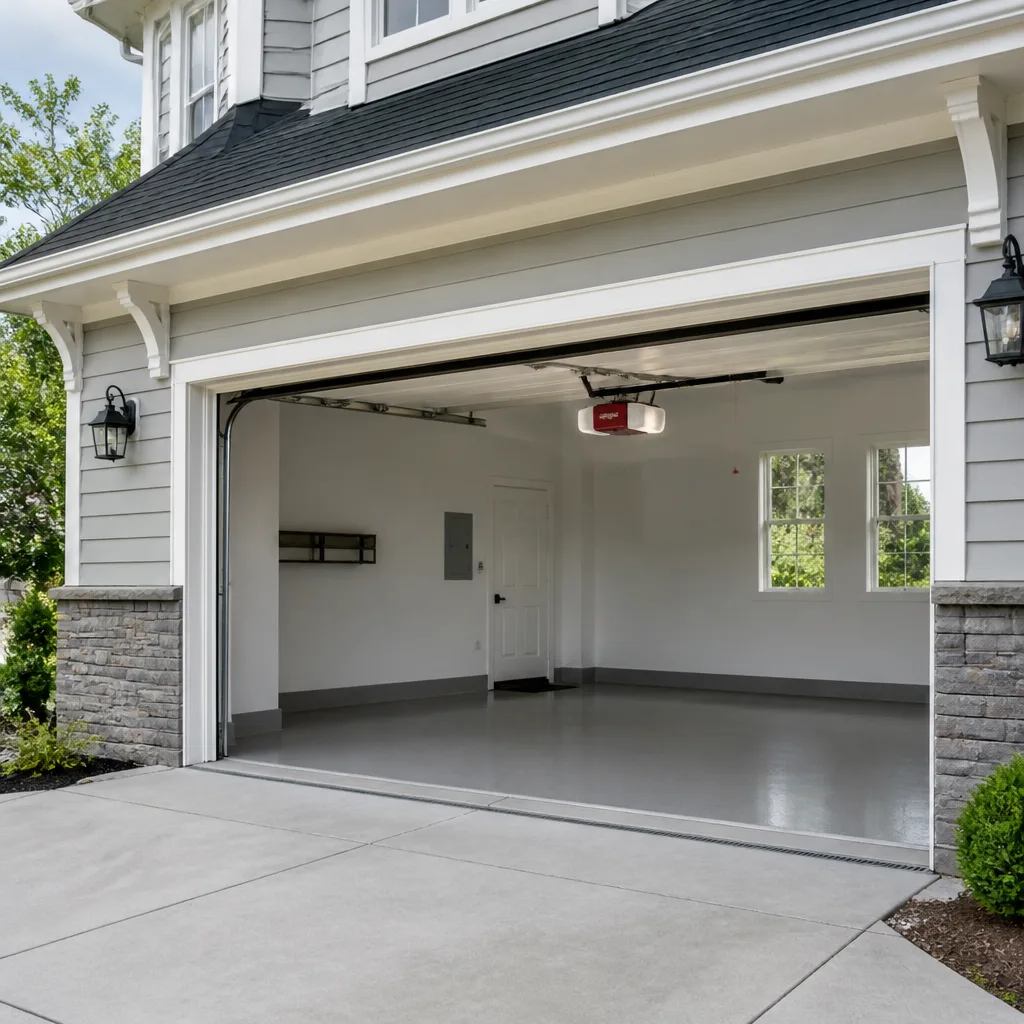 LiftMaster openers
 Chamberlain openers
Full 25-point door and opener safety check with every visit - springs, cables, rollers, tracks, and your LiftMaster or Chamberlain opener included
You get a price before we start. It does not change when the pro arrives.
Get your free estimateGarage Door Repair Maintenance Checklist for Pungo Homeowners
Most garage doors don’t fail because they got old. They fail because nobody looked at them during the two weeks a year when the hardware was under the most stress. In Pungo, those weeks are predictable: the tail end of summer, when humidity sits heavy in the air and every moving part is working against moisture, and the first hard freeze, when metal contracts and lubricant turns thick. A checklist that tells you to “lubricate annually” misses both windows entirely. This guide builds a maintenance schedule around the actual conditions a Pungo door lives through, covers the lubrication points almost every homeowner skips, and draws a clear line between what you can safely handle and what needs a trained technician.
Quick Answer
Pungo homeowners should inspect their garage door twice a year at the two peak-stress moments – late summer humidity and the first hard freeze – plus a quick monthly visual and balance check. Lubricate hinges, rollers, the torsion spring shaft ends, cable drum grooves and the lock bar pivot, but leave spring, cable and bracket work to a trained technician. Our technicians have up to 8 years of experience and we offer free estimates across Pungo.
Styles & brands we work with
- Raised-panel steel
- Carriage house
- Modern flush
- Full-view glass
- LiftMaster openers
- Chamberlain openers
Table of Contents
- The Two Highest-Stress Periods for Pungo Garage Doors
- Late-Summer Humidity Inspection: What to Check
- First Hard Freeze Inspection: What to Check
- The Lubrication Points Everyone Misses
- How to Test Door Balance Correctly
- Hardware and Oxidation: What Early Wear Looks Like
- DIY-Safe Tasks vs. Technician-Only Tasks
- Opener and Safety-Reverse Checks
- Your Full Annual Maintenance Schedule
The Two Highest-Stress Periods for Pungo Garage Doors
If you only do two thorough inspections a year, put them at the end of summer and the first hard freeze. Those are the two moments in Pungo’s year when a garage door system goes from comfortable to strained, and the failure points change with each.
The late-summer window matters because humidity has had months to work on every metal surface in the door assembly. Wood components swell slightly, painted steel can show bloom on the hardware, and lubricant applied in spring has thinned and collected grit. By September, a door in Pungo is running dirtier than it did in May, even though nothing visible has changed.
The first hard freeze is the opposite problem. Cold contracts steel, thickens old grease into something closer to wax, and stiffens the rubber seal along the bottom of the door. A door that felt smooth in October can feel stiff and noisy in December. Torsion springs behave differently in cold, cables tension up, and rollers that were already worn start to bind.
Why these two windows and not spring and fall generally
- Late summer catches humidity damage before it becomes pitting or seized hardware.
- First freeze catches cold-related stiffness before it becomes a snapped spring or a stripped opener gear.
- Both windows fall before the seasons that stress the door most – winter cold snaps and summer heat – so you’re inspecting ahead of the problem, not after.
- A quick visual check in the months between keeps you from discovering a problem at the worst moment.
If you don’t want to do the full checklist yourself, our Garage Door Repair Pungo team can run the inspection for you and tell you what actually needs attention versus what can wait.
Late-Summer Humidity Inspection: What to Check
The late-summer inspection is about moisture and grit. Pungo’s summer air holds water, and that water finds every unpainted bracket, every cable groove, and every hinge pin in your door assembly. The inspection below is about spotting the effects before they turn into a mechanical failure.
- Run the door and listen. A healthy door runs at a low, steady hum. Grinding, squealing, popping or a rattle that wasn’t there in spring points to a specific problem: dry rollers, a worn hinge, or a loose bracket.
- Look at the bottom seal. Run your hand along the rubber strip at the base of the door. It should be pliable and sit flat against the floor. Crumbling, hard or curled edges mean it needs replacing before cold weather locks it in place.
- Check the weatherstripping around the frame. Gaps let humid air behind the door and soak into the wood or drywall in the frame.
- Inspect the hardware for bloom. Bloom is a white or powdery film on galvanized or zinc-plated brackets. It’s the first stage of oxidation and appears more in Pungo’s humid months than at any other time of year.
- Look at cable windings at the drums. Each cable should wind in neat, side-by-side layers. Crossed or frayed windings are a warning sign that the cable needs a technician’s eye.
- Test the safety reverse. Place a block of wood flat on the floor under the closed door and press the opener button. The door should reverse on contact. If it doesn’t, stop using the door and book a repair.
- Confirm all the bolts are tight. Hand-check the bolts on the hinges and the track brackets. A loose bolt that vibrates all summer becomes a bent hinge by fall.
One thing worth adding to this list: check the paint on any wood or steel door facing west or south, since those two exposures take the most UV here. A door with a thin finish in August will show bare spots in fall, and bare spots rust over the winter. If the finish is failing, that’s a job for a technician or a dedicated painter, not a weekend touch-up.
First Hard Freeze Inspection: What to Check
The first hard freeze changes how the whole door system behaves. Grease thickens, metal contracts, rubber stiffens, and suddenly a door that ran quietly all year feels different. Do this inspection on a cold morning after the first hard freeze, before the door has been worked hard.
- Operate the door slowly. Watch and listen as it opens and closes. Binding, hesitation, or a section that lags behind the rest tells you a roller or hinge is experiencing cold stiffness.
- Check the torsion spring. In cold, springs lose some elasticity. A spring that has been carrying the door for a long time can snap on the first cold operation. Listen for a sharp crack and inspect the spring visually for gap or sag; if either appears, stop using the door and call a technician.
- Inspect the bottom seal for stiffness. A stiff seal presses against a cold floor with more force than normal and can pull the door out of its center line. Confirm the door is closing evenly.
- Look at the opener rail. The rail runs the full length of the door and can bow or sag on a cold snap. It should sit straight.
- Check the manual release. Pull the red release cord and confirm the door moves freely by hand. A stiff manual release in cold weather is a sign the springs are doing more work than they should.
- Confirm the door reverses on contact. Cold-stiffened rubber can mask a failing safety reverse. Retest with the wood block per the manufacturer’s instructions.
- Look for any movement in the wall brackets. Cold contracts anchors and wood, and a bracket that shifts under load is a structural concern, not a maintenance one.
Clopay and Amarr doors are common in Pungo, and both use bottom seals that get stiff in cold weather. If you’re not sure of the make of your door, our team can identify it during a garage door repair visit along with checking the seal, springs and rollers.
The Lubrication Points Everyone Misses
Most homeowners know to grease the hinges and rollers. Very few know that the parts most likely to seize up are the ones nobody remembers to lubricate: the ends of the torsion spring shaft, the cable drum grooves, and the lock bar pivot. These three spots are chronically missed, and any of them failing can take the door out of service.
The three missed points
- Torsion spring shaft ends. The shaft runs horizontally above the door. Where it meets the bearing plates at each end, the metal-to-metal contact needs a light application of garage door lubricant twice a year. Skip it and the shaft starts to squeal or bind, which loads the springs unevenly.
- Cable drum grooves. The drums sit at each end of the shaft and the lift cables wind around them. A small amount of lubricant in the grooves keeps the cable winding smoothly and slows wear on the drum edges. Use a light lubricant here, not grease; heavy grease traps grit and accelerates wear.
- Lock bar pivot. If your door has a manual lock bar (common on older single-car doors), the pivot point at each end needs lubricant, or it seizes and stops locking the door properly.
Also worth lubricating
- Hinges at each moving joint, one or two drops of garage-door lubricant per pin.
- Roller stems (not the rollers themselves, which are sealed on most modern doors).
- The opener rail and trolley if the manufacturer specifies it.
- The bottom seal track where it meets the floor.
Use a dedicated garage door lubricant or a light lithium grease, never motor oil or WD-40. Oil runs, drips onto the door panels, and attracts dust. WD-40 is a solvent, not a lubricant, and it evaporates. Apply twice a year, matched to your late-summer and first-freeze inspections, plus after any heavy rain stretch.
Safety note: never lubricate the torsion spring itself. The spring is under extreme tension; touching it, even with a lubricant spray, risks serious injury if the spring releases. Leave the spring to a trained technician.
How to Test Door Balance Correctly
The common “does the door stay up” test is not a balance test. It only tells you whether the springs hold the door at the top of travel. A genuinely balanced door is one where the springs carry the door’s weight evenly through the whole travel range, and you can test that by hand in about a minute.
The mid-travel hold test
- Close the door fully, then pull the manual release cord so the door is disconnected from the opener.
- Lift the door by hand to about waist height – roughly the midpoint of its travel.
- Release it. A properly balanced door should hold in place, or drift only slightly before settling.
- A door that slams down on release is under-sprung. A door that rises on its own is over-sprung. Either indicates the spring tensioning needs adjusting, which is a technician job.
- Do this in three positions: a quarter open, half open, three-quarters open. A door that holds at one and slams at another is a sign of an unbalanced pair of springs.
Why this matters for Pungo
Springs lose tension gradually, and in Pungo the combination of summer heat and winter cold expands and contracts the spring steel all year. A door that was perfectly balanced in May can slowly drift out of balance by the following spring. If you find an imbalance, don’t adjust the springs yourself – torsion springs are under hundreds of pounds of tension and are the single most dangerous part of the door system. Call a technician to rebalance.
Hardware and Oxidation: What Early Wear Looks Like
Pungo’s humid summers, not salt air, are what wear hardware here. The parts that fail first are the ones with unpainted surfaces: hinges, bracket bolts, track bolts, and the lift cables. Early oxidation looks like a faint white powder, then a chalky grey film, then rust, and the whole progression can happen in a single humid season.
What to look for
- White or grey powder on galvanized hinges and bracket bolts is the first stage. Clean it off and apply a light coat of lubricant to slow the progress.
- Chalky texture on painted hardware means the finish has failed and bare metal is exposed.
- Rust bloom at bolt heads and track joints means oxidation has reached the load-bearing part.
- Frayed or discolored lift cables – the cable is one of the highest-risk components on the door. Discolored or frayed strands mean the cable is on its way out.
- Pitting on the bottom brackets or the bottom roller carriers, which are closer to the floor and to ground moisture.
Most of this is cosmetic until it reaches a load-bearing point. Once rust reaches the bracket that anchors the track to the wall, or the cable drum, the safety of the whole door system is in question. The rule of thumb: if the metal part has changed color and shape, it needs replacing. Our technicians can walk the door with you and point out which hardware is fine, which needs cleaning and lubricating, and which should be swapped out. We work on the brand you already own, including Clopay, Wayne Dalton and Craftsman doors and openers.
DIY-Safe Tasks vs. Technician-Only Tasks
The line here isn’t about liability language – it’s about which tasks can hurt you if they go wrong. Garage door repair involves a door panel weighing well over a hundred pounds hanging from springs under tension, and the moment you start loading or unloading that spring the risk goes up sharply. Here’s the honest split.
Safe for most homeowners
- Lubricating hinges, rollers, shaft ends, cable drum grooves and lock bar pivots.
- Visual inspection of hardware for oxidation, loose bolts or frayed cables.
- Tightening loose bolts on hinges and track brackets by hand or with a socket (never overtighten; check the manufacturer’s spec).
- Testing the safety reverse and the balance per the tests above.
- Cleaning the door’s exterior finish, the window panels, the inside of the track (with a soft cloth, no solvents).
- Replacing the opener light bulb, the remote battery, and the wall button battery.
Needs a trained technician
- Any work on the torsion spring, extension springs or their anchoring plates. Springs are the single most dangerous part of the door.
- Cable replacement or adjustment. Cables carry the door’s weight and can snap.
- Track straightening, realignment, or replacement.
- Bottom bracket and roller carrier replacement, especially on the lower panel.
- Opener gear, motor, circuit board and logic board work.
- Adjusting spring tension or rebalancing the door.
- Replacing the door or the opener itself.
The reasoning is simple. The spring and cable assembly stores the mechanical energy that lifts the door; anything that changes that energy under load can snap loose. The tools, the procedures and the discipline for handling that load are what a specialist brings. Our garage door opener repair work covers the opener side; you’ll want a separate conversation for spring-and-cable work.
Opener and Safety-Reverse Checks
The opener is the part of the system most Pungo homeowners touch every day but inspect the least. It has three checks worth running every few months, and each one takes about a minute.
- Test the safety reverse monthly. Place a piece of wood about 1.5 inches tall flat under the closing door and press the button. The door should reverse on contact. If it doesn’t, the opener is a hazard.
- Test the photo-eye sensors. With the door open, wave a hand (or the manufacturer’s test object) between the two sensors at the base of the track. The door should refuse to close or reverse. If a light on either sensor is dim or flickering, clean the lens or check the wiring; a misaligned sensor is the single most common reason a door won’t close.
- Balance the door for the opener. If the door is out of balance, the opener works harder than it should, which wears the gear and the motor. An unbalanced door that runs for months can strip the opener gears.
When the opener itself needs attention
A door that reverses for no reason, a remote that stops working within 30 feet of the house, a wall button that works but a remote that doesn’t, or an opener that runs past the closed position all point to something in the opener assembly that needs repair. LiftMaster, Chamberlain, Genie and Craftsman openers are what we see most often in Pungo, and we can diagnose most of these issues in a single visit. If the opener is at the end of its life, this is where garage door installation comes in for a modern opener or a full door-and-opener replacement. We’ll tell you which one you actually need rather than defaulting to the biggest job.
Your Full Annual Maintenance Schedule
Here’s the whole year in one place – the two peak inspections plus the lighter checks in between. Print this out and stick it inside the garage door.
Monthly (5 minutes)
- Open and close the door once and listen for anything new.
- Test the safety reverse with the wood block.
- Visual check of the track for anything leaning against it.
- Test the remote and the wall button.
Quarterly (15 minutes)
- Lubricate hinges and roller stems.
- Run the balance test at mid-travel.
- Check bolts on the hinges and track brackets.
- Visual check of the cables for fraying.
Late summer (30-45 minutes)
- Full humidity inspection of the hardware.
- Lubricate the shaft ends, cable drum grooves and lock bar pivot.
- Inspect the bottom seal and weatherstripping.
- Clean and lubricate the hardware to slow oxidation.
First hard freeze (30-45 minutes)
- Cold-weather inspection of the springs, opener rail and seals.
- Retest the balance and safety reverse.
- Check the manual release.
- Look for cold-weather bolts that have worked loose.
Once every two to three years
- Professional service call to inspect springs, cables and hardware under load.
- Full replacement consideration on the bottom seal and weatherstripping.
- Opener inspection and battery replacement on the remotes.
Emergency service is available for the moments a failed door becomes a security or access concern, not just an inconvenience. If a door comes off its track or the spring snaps, don’t use it, even by hand, and call us. We answer 24/7. Fast dispatch from 7am to 7pm, Sunday through Friday.
Common Mistakes to Avoid
- WD-40 or motor oil as a garage door lubricant. WD-40 is a solvent and evaporates; motor oil runs, drips and attracts grit. Both leave the wrong residue on the rollers and hinges and can cause noise to come back within weeks. Use a dedicated garage door lubricant or light lithium grease.
- Lubricating the torsion spring. The spring is under extreme tension. Touching it to apply a spray risks serious injury if the spring releases. Leave the spring alone.
- The “it stays up” balance test. A door that holds at the top of travel is not necessarily balanced. Run the mid-travel hold test instead; that catches an imbalance before it starts wearing the opener gear.
- Adjusting the spring tension yourself. A torsion spring holds hundreds of pounds of stored energy. Adjusting it without the right winding bars and technique is one of the most common causes of serious garage-door injuries. Always call a technician.
- Ignoring the bottom seal through summer. A seal that looks fine in July can crack through the first cold snap. In Pungo, the freeze window turns a soft seal into a stiff one fast. Inspect it before the season changes, not after.
- Replacing the opener when the door is out of balance. If the springs have lost tension, a new opener will wear out just as fast as the old one. Fix the door balance first, then look at the opener.
- Skipping the seasonal inspections because the door “feels fine.” The most expensive failures (snapped springs, seized hardware, bent track) rarely have obvious warning signs on the day. The two peak inspections exist to catch the smaller signals before they become those bigger failures.
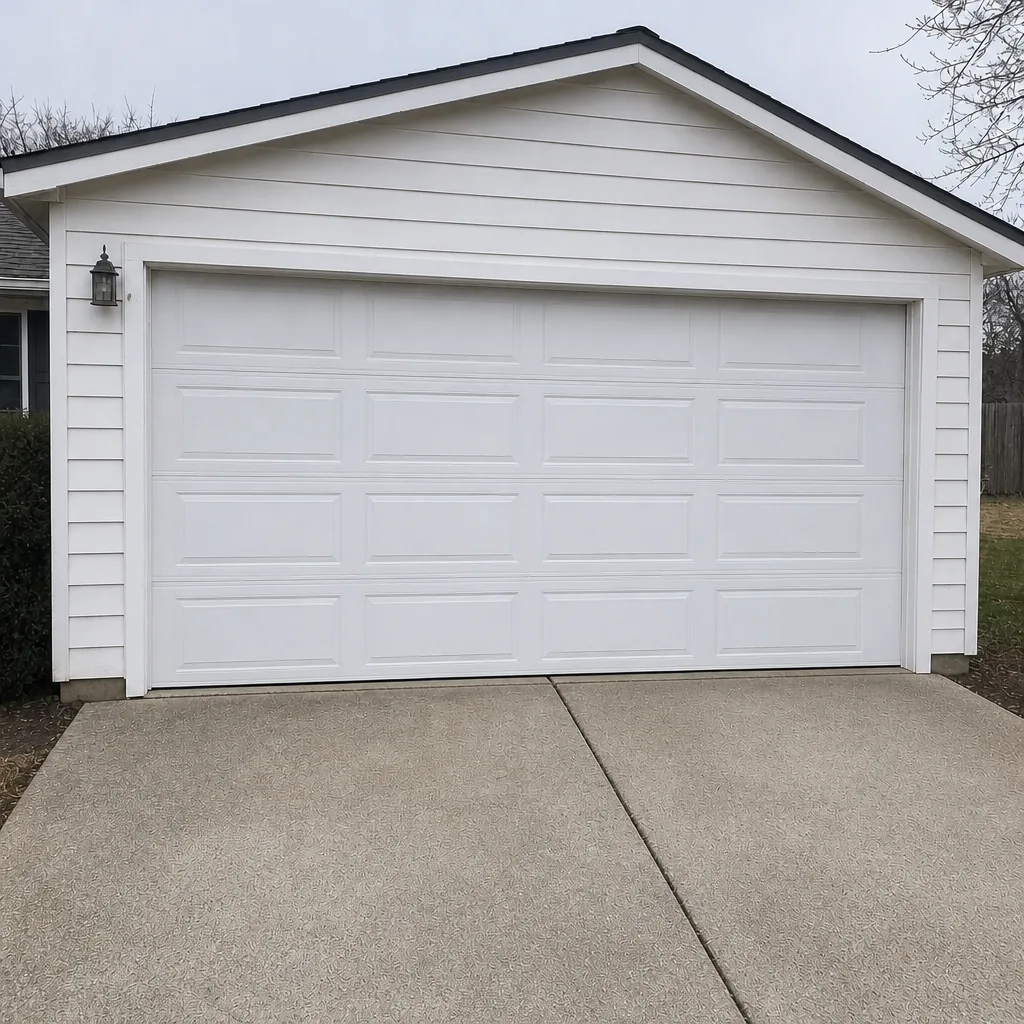
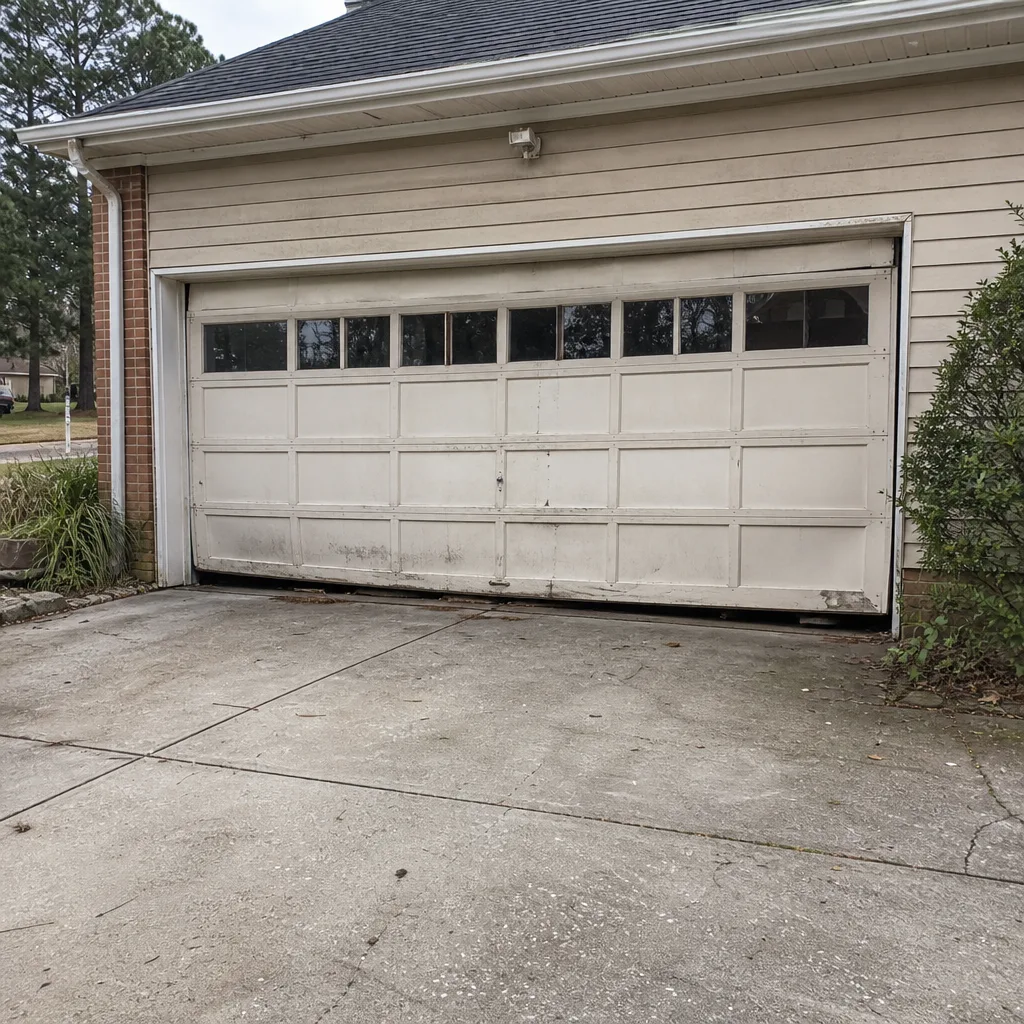
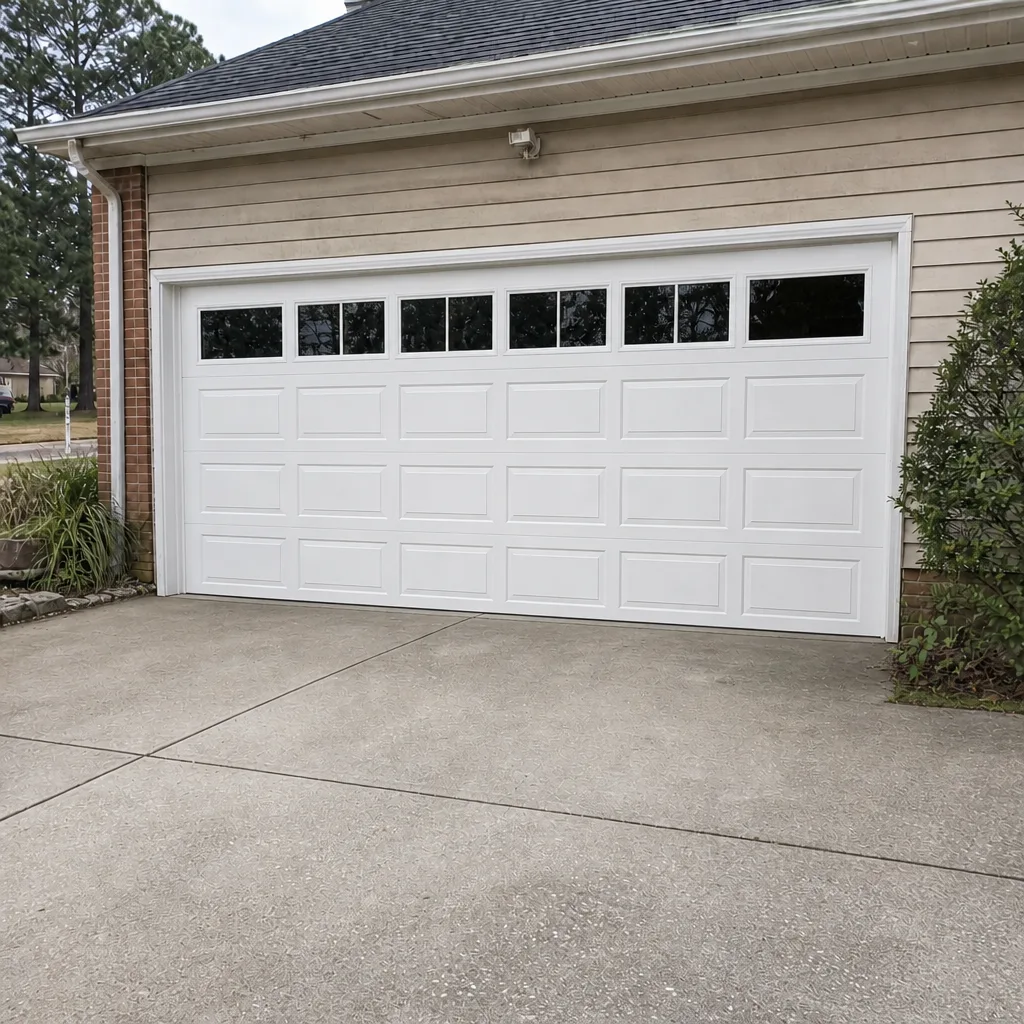
See the difference
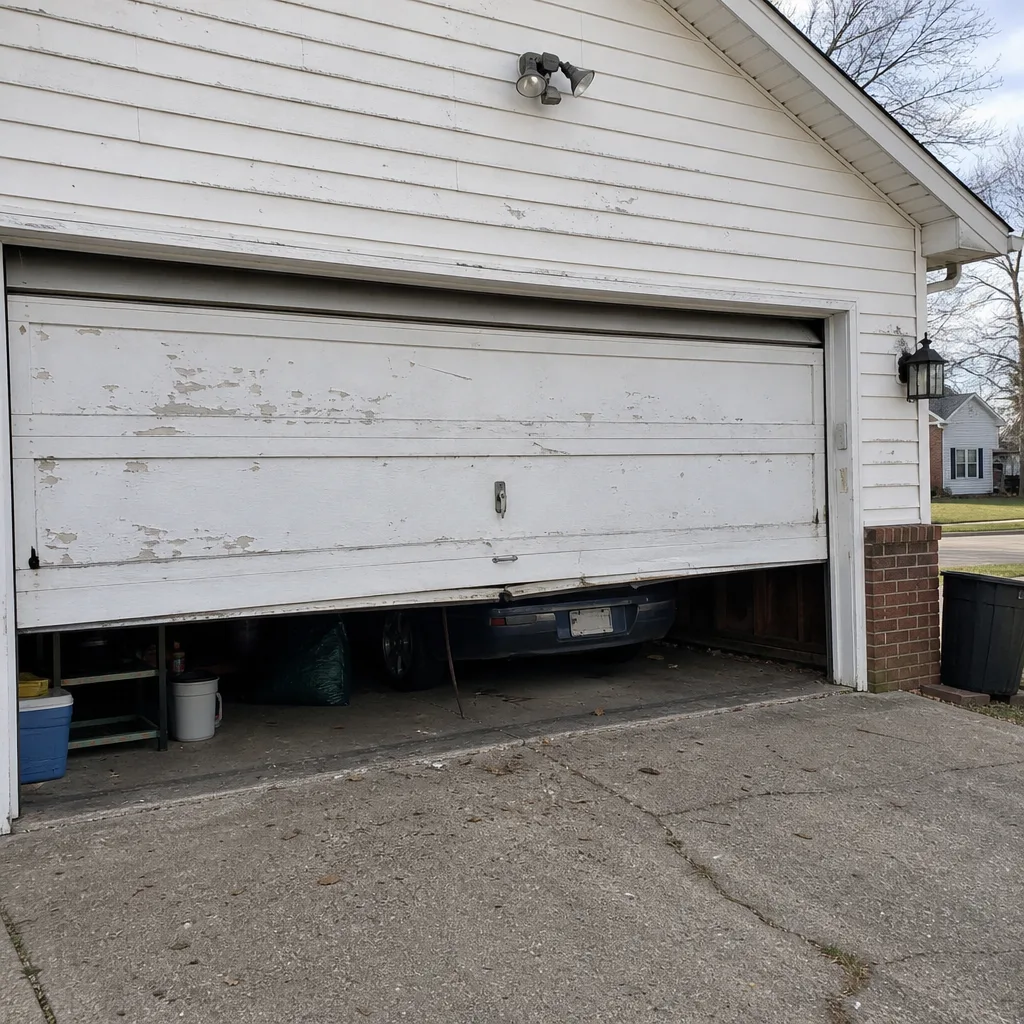 Before
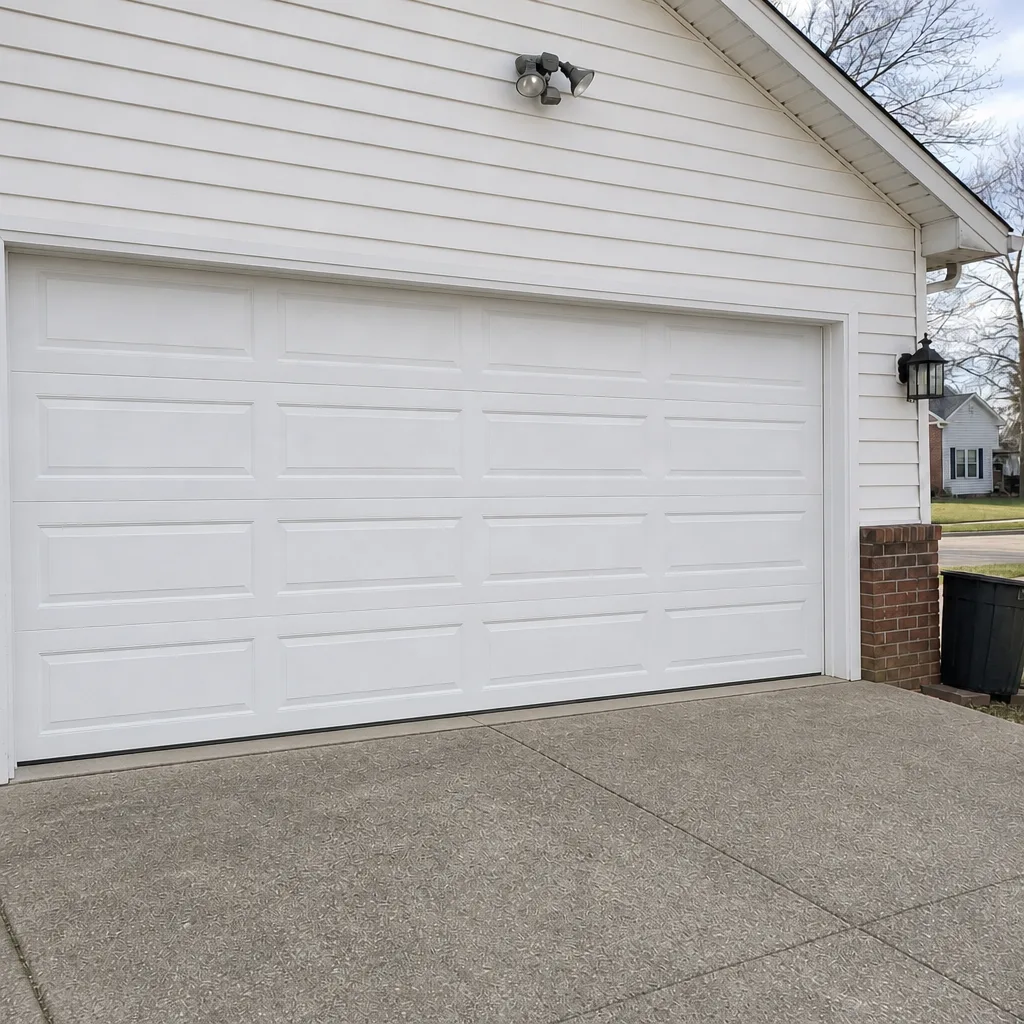 After
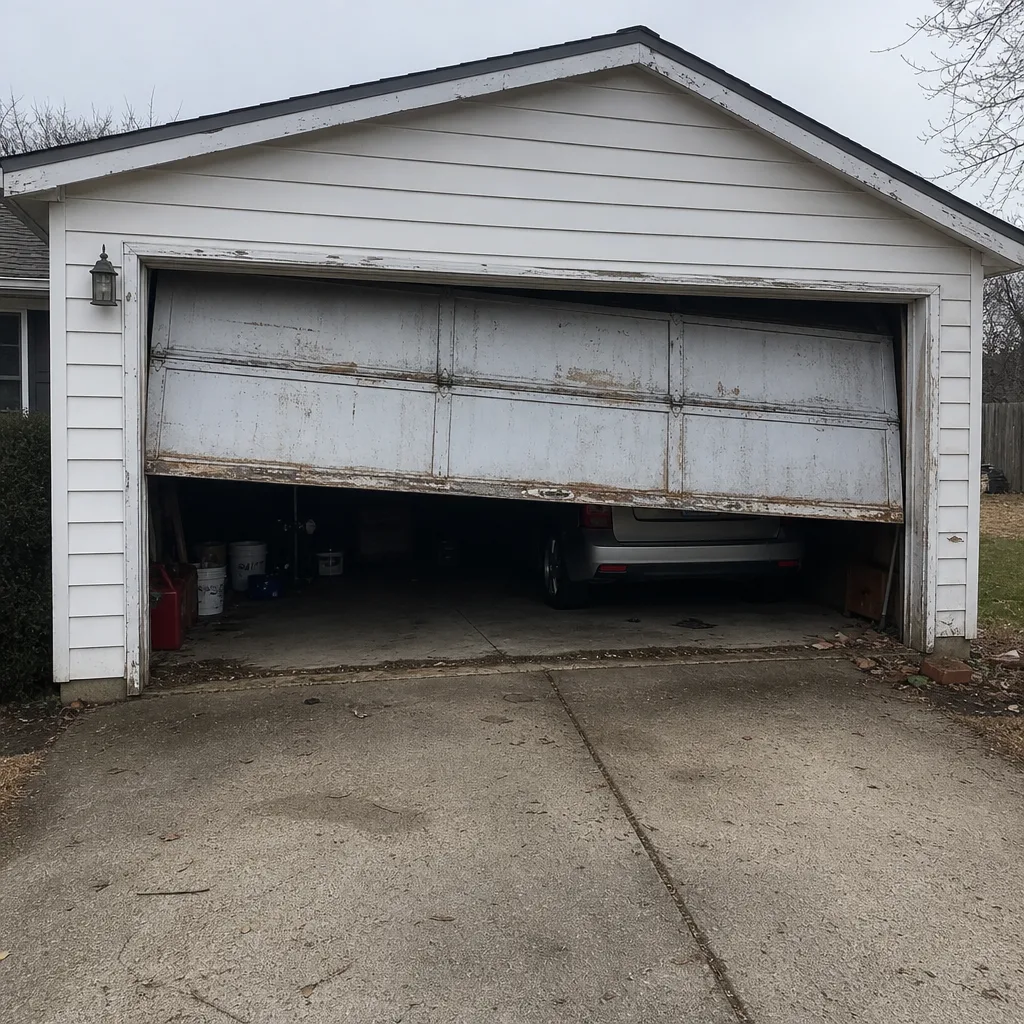 Before
 After
 Before
 After
When to Call a Professional
Call a technician when the door slams on release, when you see a gap or sag in the torsion spring, when a cable is frayed or discolored, when the door is off the track, or when a spring has snapped. Also call when the opener runs but the door doesn’t move, when the door reverses on its own, or when the mid-travel balance test shows the door can’t hold its position. Any of these is a load-bearing component issue and shouldn’t be handled by hand. Our technicians have up to 8 years of experience and we’ve seen all the ways a door can fail – the difference between a five-minute fix and a five-hundred-dollar fix is often just catching it in time.
Garage Door Repair Pungo offers free estimates in Pungo – call (855) 683-7570. We answer 24/7. Fast dispatch from 7am to 7pm, Sunday through Friday.
Frequently Asked Questions
Twice a year at minimum, timed to late summer and the first hard freeze, plus a quick monthly visual and safety-reverse check. Pungo’s humidity peak and first freeze are when hardware stresses the most, so those two windows are the most useful times to inspect.
No. Torsion springs are under extreme tension and are the most dangerous part of any garage door system. Replacing or adjusting a spring without the correct winding bars and training can cause serious injury. Call a technician; it’s the one maintenance item that isn’t worth attempting yourself.
Cold weather thickens old lubricant, contracts metal and stiffens the rubber seal. If the door is noisy on the first cold snap, lubricate the hinges, roller stems and shaft ends with a dedicated garage door lubricant, and check the balance. If noise continues, the rollers or hinges may need replacing.
Disconnect the door from the opener using the manual release, lift the door to about waist height, and release it. A balanced door stays roughly where you left it. A door that slams down is under-sprung; a door that rises on its own is over-sprung. Do the test at three heights to confirm.
Yes. We’re factory-trained on LiftMaster, Chamberlain, Genie, Clopay, Amarr, Wayne Dalton, Craftsman and Raynor – which covers most of what’s installed in Pungo. We work on the brand you already own.
Stop using the door, even by hand, and call a technician. A door with a snapped spring is no longer counterbalanced and can drop or load unevenly if you try to operate it. Don’t try to open it manually; the cables and springs are still under load. Call (855) 683-7570 for an emergency call – estimates are free.
The Bottom Line
The right garage door maintenance schedule isn’t a generic annual checklist. It’s built around the two moments in the Pungo year when hardware stresses the most – late summer humidity and the first hard freeze – and it covers the lubrication points most people skip: shaft ends, cable drum grooves, lock bar pivots. Run the mid-travel balance test instead of the shortcut version. Inspect for oxidation before it reaches a load-bearing part. Lubricate the moving parts yourself, and leave springs, cables, track and opener internals to a trained technician. A door maintained on that schedule typically runs smoother, lasts longer, and gives you an early warning when something is about to fail.
If you’d rather not do the checks yourself, or if anything on the list turns into a job that needs a specialist, call us. Garage Door Repair Pungo handles repair, opener service, spring replacement and new door installation across Pungo. Call (855) 683-7570 for a free estimate – estimates are free and the price is confirmed before any work starts. We answer 24/7. Fast dispatch from 7am to 7pm, Sunday through Friday.
Written by the team at Garage Door Repair Pungo.